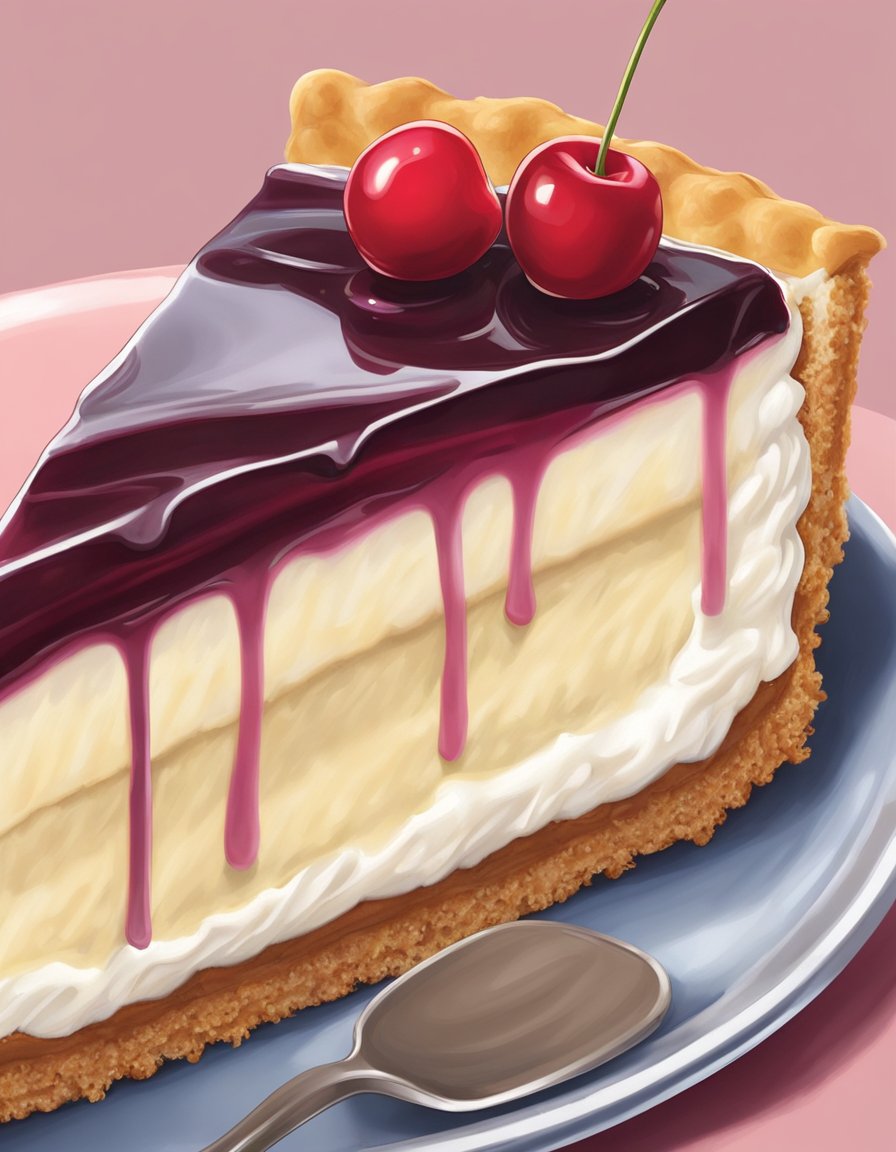
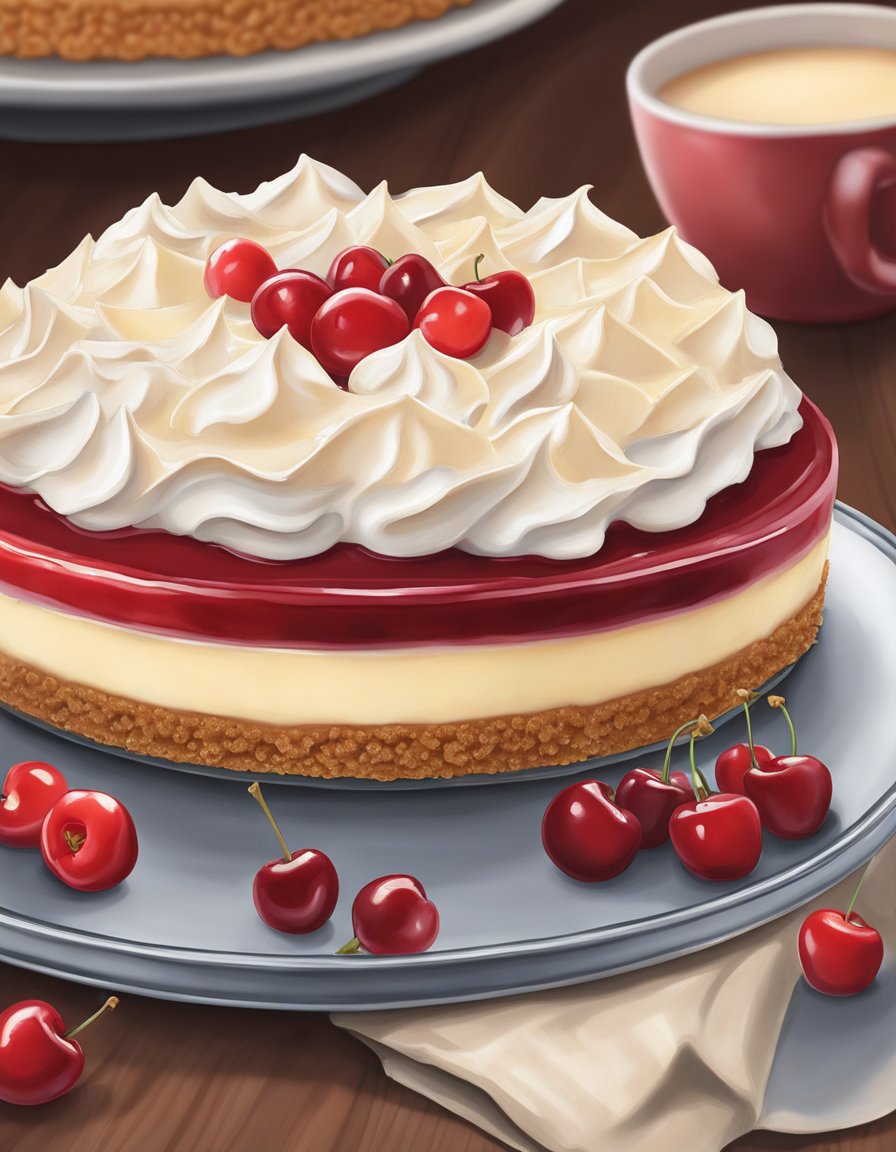
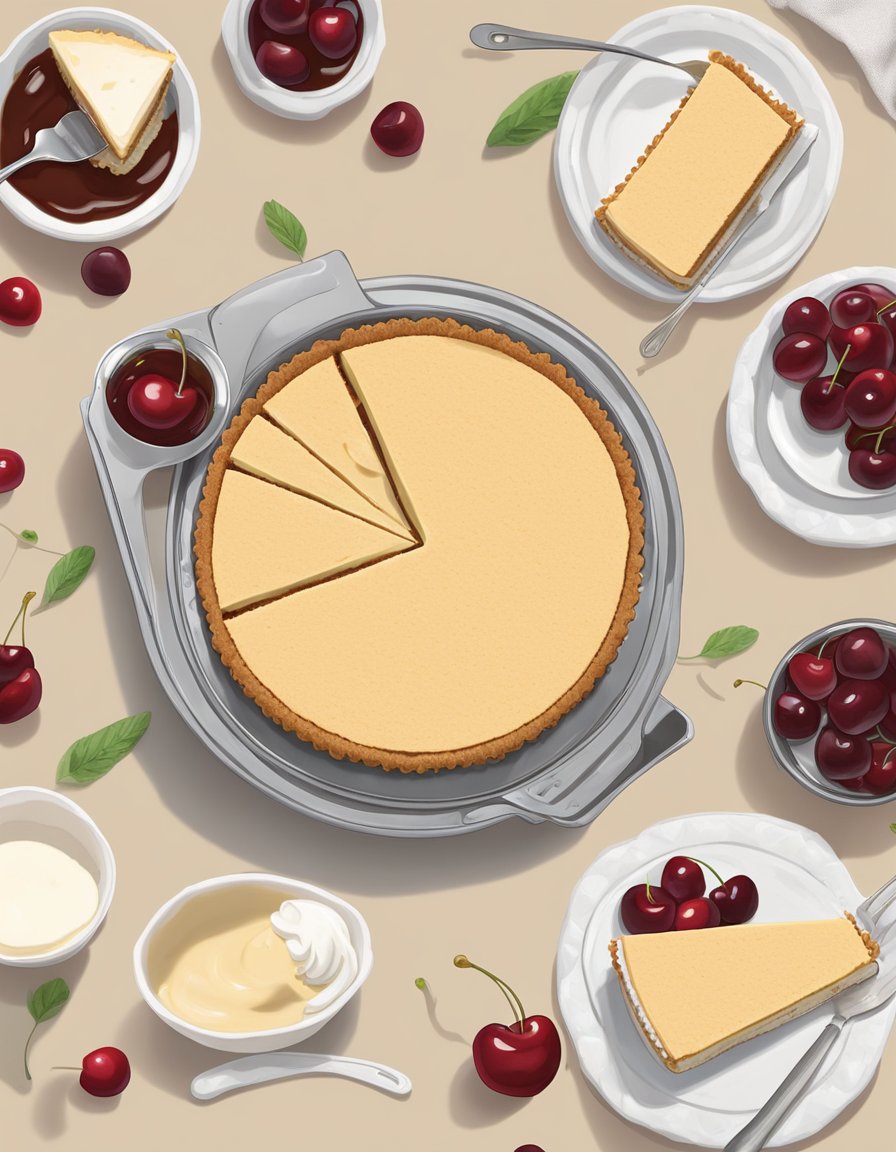
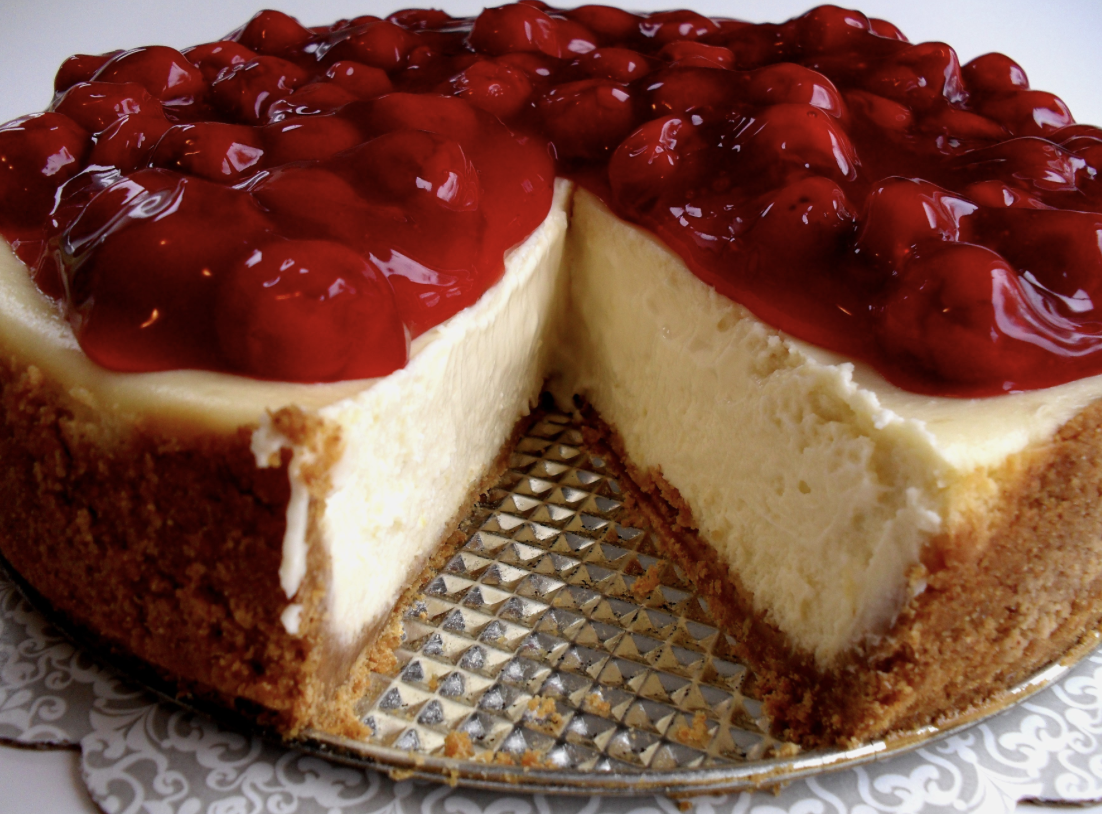
No-Bake Cherry Cheesecake is a classic dessert that is loved by many. It is a perfect dessert for any occasion, whether it’s a family gathering or a dinner party. Making a cheesecake from scratch can be a daunting task, but this no-bake version makes it easy and stress-free.

The recipe for the Easiest No-Bake Cherry Cheesecake is simple and requires only a few ingredients. The crust is made from crushed graham crackers and melted butter, while the filling is a combination of cream cheese, sugar, and whipped cream. The cherry topping is made from canned cherry pie filling, which makes it even easier to prepare.
This dessert is perfect for those who love the taste of cheesecake but don’t want to spend hours in the kitchen. It’s also a great option for those who don’t have access to an oven or prefer not to use one. The Easiest No-Bake Cherry Cheesecake is a delicious and hassle-free dessert that everyone will enjoy.
Essential Ingredients

Cream Cheese Basics
The first essential ingredient for making the easiest no-bake cherry cheesecake is cream cheese. You will need to have 2 packages (8oz each) of cream cheese at room temperature. It is important to use full-fat cream cheese for the best texture and flavor.
Cherry Topping Selection
The second essential ingredient is the cherry topping. You can use either canned or fresh cherries. If using canned cherries, make sure to drain them well before using. If using fresh cherries, remove the stems and pits before using. You can also use cherry pie filling as a quick and easy option.
Graham Cracker Crust Ingredients
The third essential ingredient is the graham cracker crust. You will need graham cracker crumbs, sugar, and melted butter. You can either buy pre-made graham cracker crumbs or make your own by crushing graham crackers in a plastic bag with a rolling pin.
To make the crust, mix the graham cracker crumbs, sugar, and melted butter until well combined. Press the mixture into the bottom of a 9-inch springform pan and refrigerate while preparing the filling.
Overall, these three essential ingredients are the foundation for making the easiest no-bake cherry cheesecake. By using quality cream cheese, selecting the right cherry topping, and preparing a delicious graham cracker crust, you can create a dessert that is sure to impress.
Required Kitchen Tools

Making a no-bake cherry cheesecake is a simple process that requires minimal kitchen tools. Here are the essential tools you will need:
1. Mixing Bowl
A large mixing bowl is necessary for combining the ingredients of the cheesecake. Choose a bowl that is deep enough to prevent splatters and has enough space to mix the ingredients properly.
2. Electric Mixer
An electric mixer is ideal for mixing the ingredients, as it helps to create a smooth and creamy texture. However, if you do not have an electric mixer, a whisk can be used instead.
3. Measuring Cups and Spoons
Accurately measuring the ingredients is crucial for the success of the cheesecake. Use measuring cups and spoons to ensure you add the right amount of ingredients.
4. Springform Pan
A springform pan is the best type of pan to use for a no-bake cheesecake. It has a removable bottom that makes it easy to remove the cheesecake from the pan without damaging it.
5. Plastic Wrap
Once the cheesecake is prepared, it needs to be chilled in the refrigerator for a few hours. Cover the cheesecake with plastic wrap to prevent it from drying out or absorbing other flavors from the fridge.
With these essential kitchen tools, you can easily make a delicious and creamy no-bake cherry cheesecake.
In addition to this delightful No-Bake Cherry Cheesecake, you might be interested in exploring other exquisite recipes featured on our website. For meat lovers, our Roasted Garlic Butter Steaks Recipe: A Flavorful Culinary Journey offers a rich and savory experience. If you’re looking for a unique and healthy bread option, our Rice Bread Without Oven: A Delightful and Healthy Alternative is a must-try. And for those who enjoy exploring international cuisines, our Turkish Milk Bread in a Pan: A Culinary Journey will transport your taste buds to the heart of Turkey. Each of these recipes complements our No-Bake Cherry Cheesecake, making your culinary repertoire more diverse and exciting.
Crust Preparation

Mixing Ingredients
To make the crust for the no-bake cherry cheesecake, the first step is to mix the ingredients for the crust. In a medium-sized bowl, combine the graham cracker crumbs, melted butter, and sugar. Use a fork to mix the ingredients together until they are well combined.
Setting the Crust
Once the ingredients have been mixed, it’s time to set the crust. Press the mixture firmly into the bottom of a 9-inch springform pan. Make sure the crust is evenly distributed and pressed down firmly to ensure it holds together well.
After the crust has been prepared, it should be chilled in the refrigerator for at least 30 minutes before adding the cheesecake filling. This will help the crust set and hold together better.
Overall, preparing the crust for the no-bake cherry cheesecake is a simple process that can be completed quickly and easily. With just a few ingredients and a little bit of time, anyone can make a delicious crust for this tasty dessert.
Cheesecake Filling

Cream Cheese Softening
Before starting to make the filling, the cream cheese should be softened to room temperature. This can be done by leaving it out on the counter for an hour or two, or by microwaving it for 15-20 seconds. Softening the cream cheese makes it easier to mix with the other ingredients and ensures a smooth and creamy texture.
Mixing the Filling
To make the filling, the softened cream cheese should be mixed with condensed milk, lemon juice, and vanilla extract. The condensed milk adds sweetness and creaminess to the filling, while the lemon juice gives it a tangy flavor. The vanilla extract provides a subtle hint of flavor that complements the cherries.
Mix the ingredients together until they are well combined and smooth. This can be done with a hand mixer or a stand mixer. Be sure to scrape down the sides of the bowl periodically to ensure that all of the ingredients are incorporated.
Once the filling is mixed, it can be poured over the prepared crust and topped with cherry pie filling. Chill the cheesecake in the refrigerator for at least 4 hours or overnight before serving.
Assembling the Cheesecake

Once the crust and filling are prepared, it’s time to assemble the cheesecake. The process is simple and straightforward, and can be accomplished in just a few steps.
- Pour the filling into the crust: Take the bowl of cheesecake filling and pour it into the prepared crust. Use a spatula to smooth out the surface, making sure it’s level and even.
- Add the cherry topping: Spoon the cherry pie filling over the cheesecake filling, spreading it out evenly. Make sure to leave a small border around the edges so that the crust is visible.
- Chill the cheesecake: Place the cheesecake in the refrigerator and chill for at least 4 hours, or until firm. This will allow the filling to set and the flavors to meld together.
- Serve and enjoy: Once the cheesecake is chilled, it’s ready to be served. Use a sharp knife to cut the cheesecake into slices, and serve with whipped cream or additional cherry pie filling, if desired.
By following these simple steps, you can create a delicious and impressive dessert that will impress your guests. Whether you’re a seasoned baker or a novice, this no-bake cherry cheesecake is sure to be a hit!
Chilling and Setting
Refrigeration Time
Once the cheesecake mixture has been poured onto the crust, it needs to be chilled in the refrigerator for at least 2-3 hours. This is an important step in the process as it allows the cheesecake to set properly and achieve the right consistency. It is recommended to cover the cheesecake with plastic wrap or aluminum foil before placing it in the refrigerator to prevent the cheesecake from absorbing any odors or flavors from other foods in the fridge.
Checking for Doneness
To check if the cheesecake has set, gently shake the pan. If the cheesecake jiggles slightly in the center, it is done. If it is still liquidy and moves around a lot, it needs more time to set. It is important not to overcook the cheesecake as it can become dry and crumbly. Once the cheesecake is done, remove it from the refrigerator and let it sit at room temperature for a few minutes before serving.
Overall, the chilling and setting process is crucial to the success of the no-bake cherry cheesecake. With the right amount of time in the refrigerator and a careful check for doneness, the final result will be a delicious and creamy dessert that is sure to please.
Garnishing and Serving
Adding Cherry Topping
To add a finishing touch to the Easiest No-Bake Cherry Cheesecake, top it off with some cherry pie filling. Simply spoon the filling over the cheesecake and spread it evenly. You can also use fresh cherries or a cherry sauce if you prefer.
Serving Suggestions
The Easiest No-Bake Cherry Cheesecake can be served chilled or at room temperature. It can be sliced and served on a plate or in a bowl. Garnish with whipped cream and fresh cherries for an extra touch of elegance.
For a more casual presentation, serve the cheesecake in individual cups or jars. This makes it easy for guests to grab and go, and also adds a fun element to the dessert.
Overall, the Easiest No-Bake Cherry Cheesecake is a delicious and easy dessert that is perfect for any occasion. With a few simple garnishes and serving suggestions, it can be transformed into a beautiful and impressive dessert that will leave your guests wanting more.
Variations and Substitutions
Dietary Adjustments
For those with dietary restrictions, there are a few substitutions that can be made to accommodate their needs. For a gluten-free version, use gluten-free graham crackers or a different type of cookie for the crust. For a lower-fat version, use reduced-fat cream cheese and sour cream. For a dairy-free version, use a dairy-free cream cheese alternative and coconut cream instead of sour cream.
For those seeking a variety of healthy and delicious recipes, there are several excellent resources available online. The Food Network offers a comprehensive Healthy Recipes section, featuring special collections like Weeknight Dinners and quick meals. For enthusiasts of whole, unprocessed foods, Clean Eating Magazine provides a vast array of recipes, including unique categories like “Classics Made Clean.” Additionally, Cooking Light is an excellent source for recipes catering to different meals and dietary needs, including vegan, gluten-free, and vegetarian options, along with specific collections such as chili recipes and slow-cooker dishes.
Alternative Toppings
While cherry pie filling is the classic topping for a no-bake cherry cheesecake, there are other options to explore. For a fresh twist, try topping the cheesecake with fresh cherries, sliced strawberries, or blueberries. For a chocolatey spin, drizzle melted chocolate over the top of the cheesecake before adding the cherry topping. For a nutty flavor, sprinkle chopped nuts such as almonds or pecans over the top.
Experimenting with different toppings and dietary adjustments can add new dimensions to this classic dessert, making it a versatile treat for any occasion.
Storage and Leftovers
Once the no-bake cherry cheesecake is made, it can be stored in the refrigerator for up to 5 days. It is advised to cover the cheesecake with plastic wrap or aluminum foil to prevent it from drying out or absorbing any odors from other food items in the fridge.
If you have any leftovers, you can either store them in the refrigerator or freeze them for later. To freeze the cheesecake, wrap it tightly in plastic wrap and aluminum foil and place it in an airtight container. It can be frozen for up to 2 months.
When you are ready to serve the leftover cheesecake, simply thaw it in the refrigerator overnight and it will be ready to eat the next day. It is not recommended to thaw the cheesecake at room temperature or in the microwave as this can cause the texture to become grainy or the cheesecake to become too soft.
Overall, the no-bake cherry cheesecake is a great dessert option that can be made ahead of time and stored for later. With proper storage techniques, you can enjoy the delicious taste of this dessert for days to come.

